 roundup
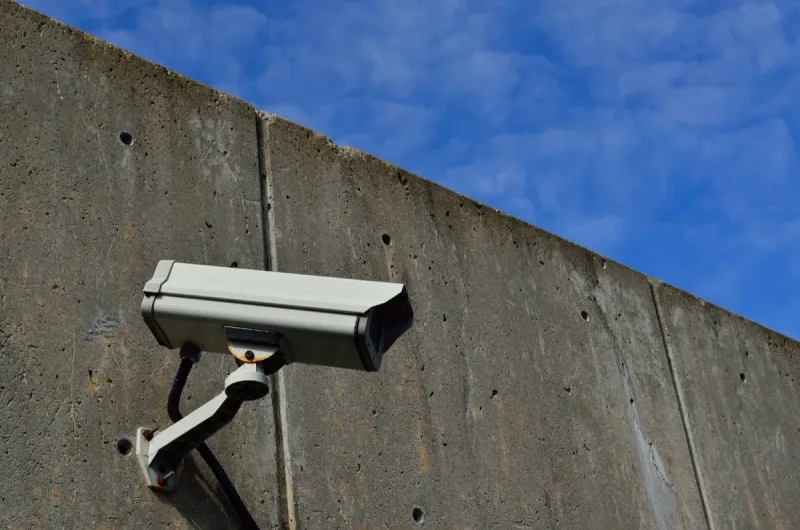
 5 Best CCTV Microphones for Adding Audio to Your Security Setup
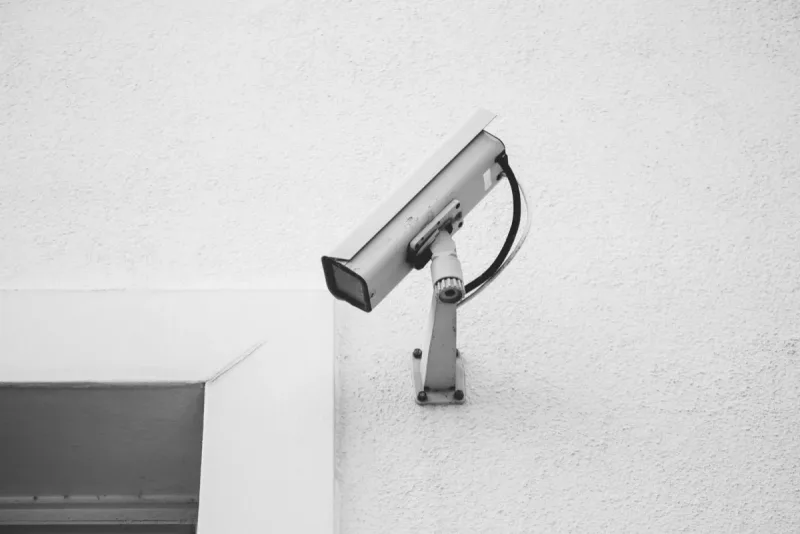
Add audio to your security cameras with a CCTV microphone. We tested 5 options and ranked them by sound clarity, weather resistance, and ease of install.
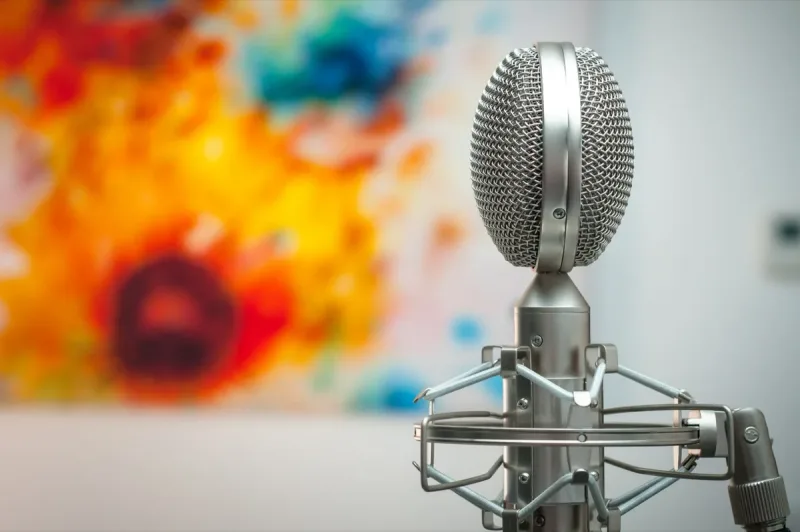
The sensitive, detailed mics that make studio vocals and podcasts actually sound studio-grade. Here's what I've learned testing them.
We may earn a small commission through links on this page, at no extra cost to you. As an Amazon Associate, we earn from qualifying purchases. Ratings reflect our own editorial evaluation.
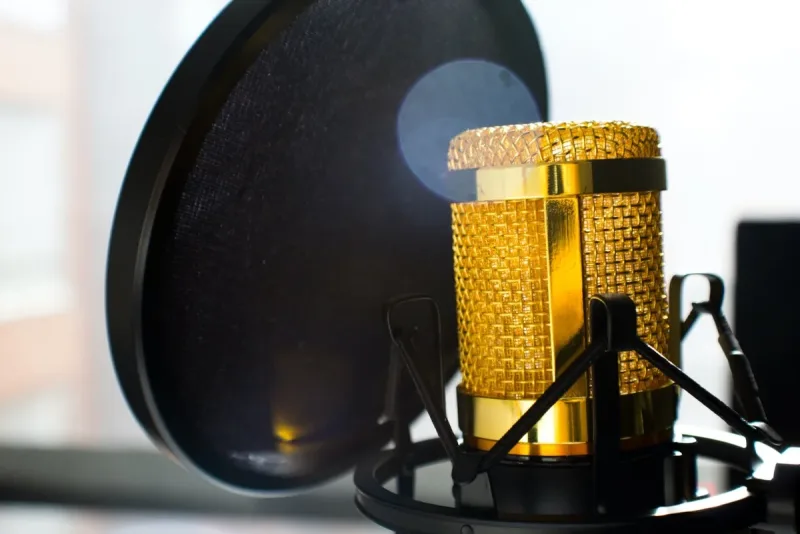
A condenser microphone converts sound into an electrical signal using a thin, electrically charged diaphragm positioned in front of a metal backplate. Together, those two components form a capacitor, historically called a "condenser," and the name stuck.
Sound waves push the diaphragm back and forth, changing the gap between it and the backplate. That shifting distance alters the electrical capacitance, producing an audio signal that mirrors the original sound with remarkable precision.
What you get is extreme sensitivity to fine detail. Condensers capture breath control in a vocal performance, string shimmer on an acoustic guitar, and high-frequency overtones that dynamic microphones flat-out miss.
Because the diaphragm is so lightweight, condensers also deliver wider frequency response and faster transient response than other mic types. They reproduce everything from deep bass to airy highs without softening the attack on percussive sounds.

That sensitivity and accuracy is exactly why condensers have dominated professional studios for decades. Modern manufacturing has made them accessible at every price point, from $30 USB models to $5,000+ studio flagships.
Inside every condenser capsule, a razor-thin membrane (often gold-sputtered Mylar just a few microns thick) sits in front of a fixed metal backplate. A constant electrical charge, supplied by 48V phantom power or USB bus power, maintains voltage across the gap.
When sound pressure hits the diaphragm, it vibrates. As the gap shrinks, capacitance rises; as it widens, capacitance drops.
Those capacitance changes produce a tiny electrical signal that tracks the incoming sound wave. A built-in preamp, either transistor-based (solid-state) or vacuum tube, then amplifies that signal to a usable level before it exits through the XLR or USB output.
There's almost zero mechanical resistance involved. That's why condensers capture more detail than dynamic mics, which rely on a heavier voice coil and magnet assembly that can't respond as quickly to fast-changing or quiet sounds.
In short, condensers excel at capturing detail in quiet, controlled spaces, while dynamic mics handle loud sources and rough environments better.
This is the first question most buyers ask, and it shapes everything about your setup.
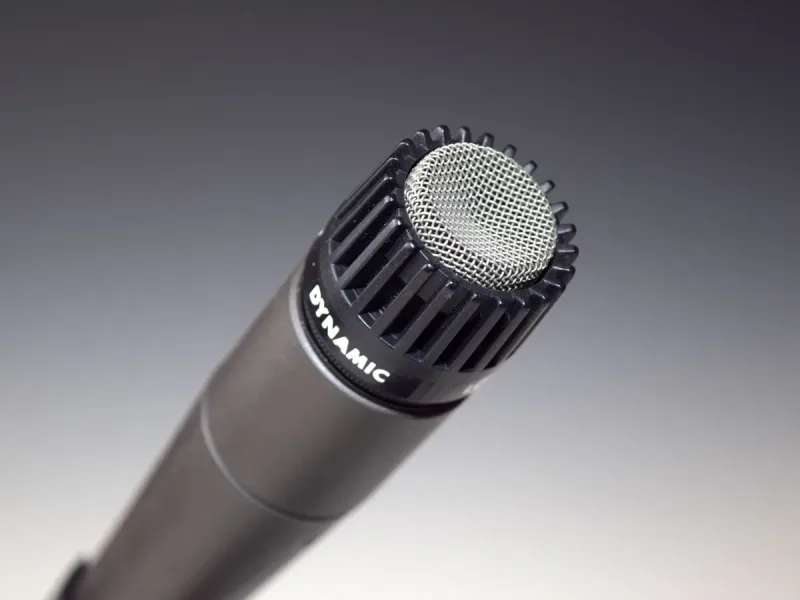
Dynamic mics use a moving coil attached to the diaphragm. They're tough, handle extreme volume without flinching, and reject background noise effectively.
That makes dynamics the standard choice for live stages, cranked guitar amps, and drum close-miking.
Condensers trade that ruggedness for detail and clarity. Their lighter diaphragm responds to quiet, nuanced sounds that a dynamic would barely register.
For vocals in a treated room, acoustic instruments, or dialogue capture, a condenser delivers a far more complete sonic picture.
| Feature | Condenser | Dynamic |
|---|---|---|
| Sensitivity | Very high, captures subtle detail | Lower, better noise rejection |
| Frequency Response | Wide (20 Hz to 20 kHz+) | Narrower, often rolled-off highs |
| Transient Response | Fast, accurate on percussive sounds | Slower, smooths transients |
| Power | Needs phantom power or USB | Passive, no power required |
| Durability | More fragile, sensitive to moisture | Very rugged, tour-ready |
| Best For | Studio vocals, podcasts, instruments | Live sound, loud sources, field use |
| Price Range | $30 to $5,000+ | $20 to $1,500+ |
Short version: quiet environment plus maximum clarity equals condenser. Loud sources, rough handling, and noisy spaces call for a dynamic.
There are four main types: large-diaphragm, small-diaphragm, tube, and multi-pattern, each designed for different recording scenarios.
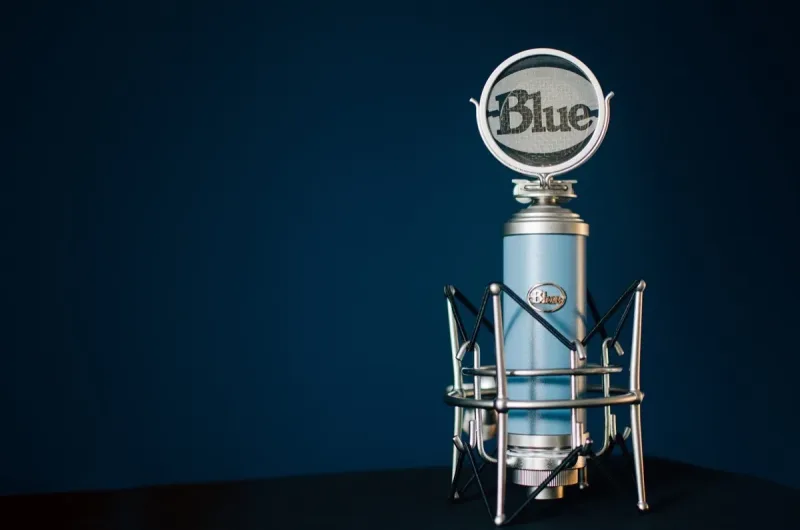
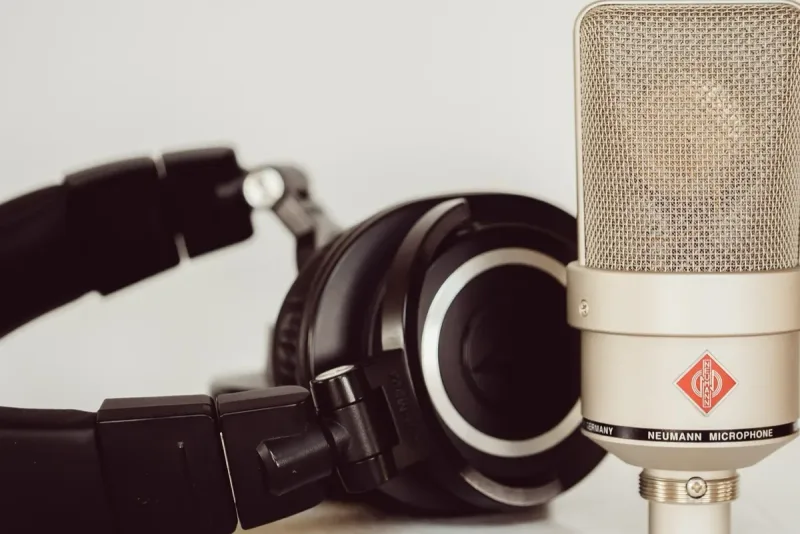
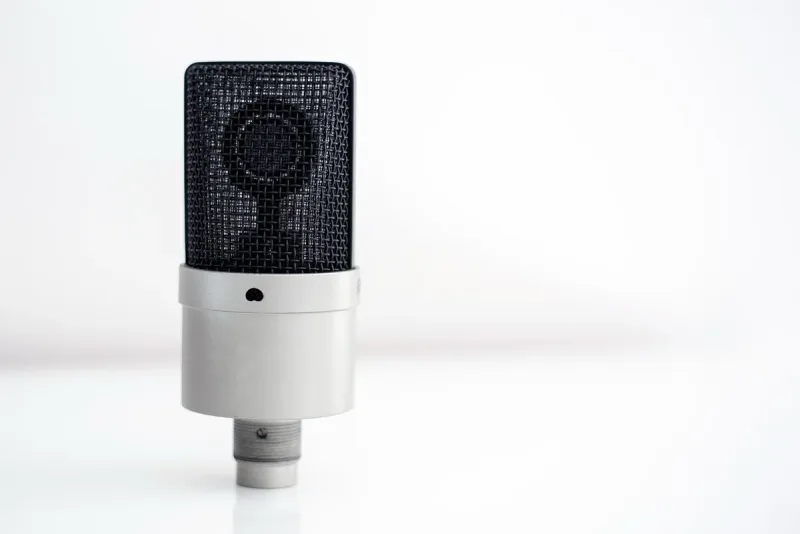
Large-diaphragm condensers have capsules roughly one inch (25.4mm) or larger. These are the classic studio mics you see in every professional vocal booth.
That bigger diaphragm gives them a warm, full-bodied character with a flattering quality that makes vocals sound polished right out of the gate. LDCs also generate less self-noise than small-diaphragm models, making them ideal for whispered vocals, ASMR content, and delicate acoustic instruments.
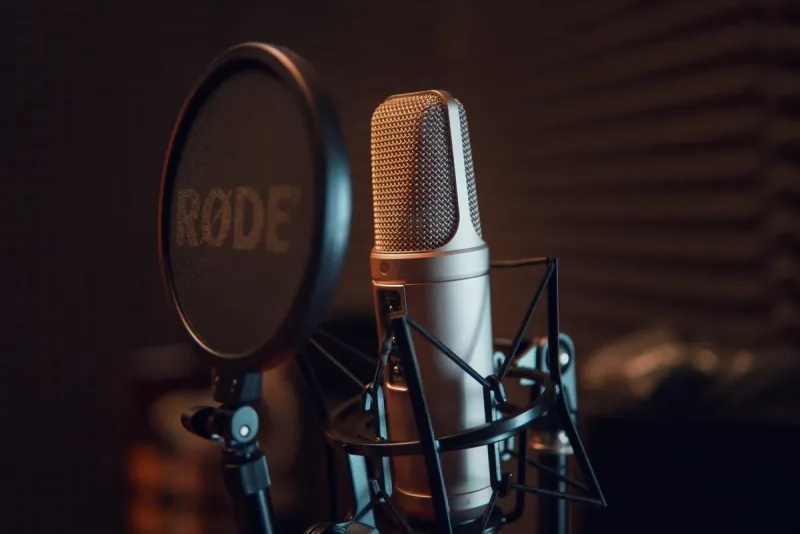
Popular LDCs include the Audio-Technica AT2020, Rode NT1, and Neumann TLM 103, covering beginner to professional price points. If you're building your first recording setup, a solid LDC is almost always the right first mic.
Small-diaphragm condensers, often called pencil condensers for their slim cylindrical shape, have capsules under half an inch (12.7mm). What they give up in low-end warmth, they make up for in accuracy.
SDCs hold a more consistent polar pattern across the frequency range, which means they capture spatial characteristics more truthfully. They're the go-to for acoustic guitar, cymbals, orchestral ensembles, piano, and woodwind instruments.
They also excel at stereo recording techniques like XY, ORTF, and spaced pair configurations. If accuracy and detail matter more than warmth, check our small-diaphragm condenser guide.
Tube condensers run a vacuum tube in their internal amplifier circuit, adding harmonic saturation and a warm character that engineers describe as "musical" or "vintage." Legendary mics like the Neumann U47 and AKG C12 are tube designs that shaped the sound of countless records.
Solid-state condensers use transistor or FET circuitry instead. They're cleaner, quieter, and lower-maintenance since tubes wear out and need replacing every few years.
Most condensers built today are solid-state, and honestly, the quality has gotten good enough that plenty of engineers now prefer them for their neutrality. Tube mics cost more and require dedicated external power supplies (not standard phantom power), but for that classic saturated vocal tone, they can be transformative.
Some condensers let you switch between polar patterns, typically cardioid, figure-8, and omnidirectional at minimum. Higher-end models like the AKG C414 and Lewitt LCT 640 TS offer full multi-pattern switching with hybrid positions.
Use cardioid for standard vocal recording, flip to omnidirectional for room ambience, or switch to figure-8 for mid-side recording and face-to-face interviews. If you can only own one or two mics, a multi-pattern condenser gives you three or more microphones in a single body.
Put simply, XLR offers more flexibility and room to grow, while USB keeps things simple and affordable for single-mic setups.
This choice affects your entire recording setup, so it's worth understanding before you spend a dime.
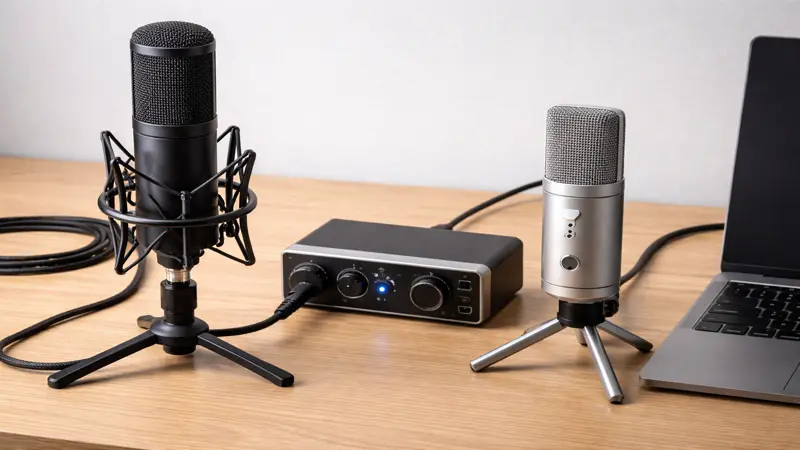
XLR condensers send an analog signal through a 3-pin cable to an audio interface that provides 48V phantom power and handles analog-to-digital conversion.
More gear is involved, but you get way more flexibility. You can swap your interface, preamp, or mic independently, chain in hardware processors, and run multiple mics at once.
USB condensers have the audio interface built right into the mic body. Plug it into your computer, select it as your input device, and you're done: no phantom power needed, no extra cables, no extra boxes.
If you're a podcaster, streamer, or just need a single-mic setup, USB condensers are genuinely excellent. The Audio-Technica AT2020USB+ and Rode NT-USB Mini deliver quality that would've required a $500+ rig fifteen years ago.
| Factor | XLR Condenser | USB Condenser |
|---|---|---|
| Setup | Interface + cable + phantom power | Plug and play |
| Audio Ceiling | Very high (depends on preamp quality) | Good, limited by built-in converter |
| Upgrade Path | Swap any component independently | Limited, whole unit replacement |
| Multi-Mic Recording | Yes, limited by interface inputs | Difficult, driver conflicts common |
| Latency Control | Direct monitoring via interface | Software-dependent |
| Starting Cost | $150+ (mic + interface) | $50 to $150 (all-in-one) |
If you think you'll ever want a second mic or plan to grow your setup, start with XLR. If your needs are simple and staying that way, USB is perfectly fine.
For budget-conscious beginners, USB gets you recording-quality audio with zero fuss.
Condensers perform best in controlled environments: studio vocals, podcasting, instrument recording, ASMR, streaming, and video production.
Large-diaphragm condensers own vocal recording. The "presence peak" between 3 to 6 kHz helps vocals cut through a mix without sounding harsh.
Pair one with a reflection filter or a treated room, and you're getting results that rival what small studios charged $200/hour for a decade ago.
Prioritize cardioid pattern, self-noise under 14 dBA, and a built-in high-pass filter to tame low-end rumble. A shock mount isn't optional since tiny vibrations through the mic stand will contaminate every take.
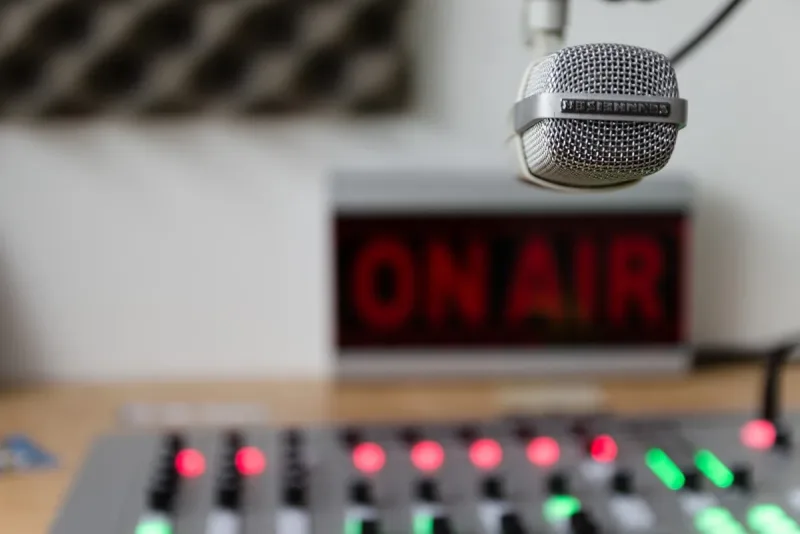
Condensers give podcasters polished, detailed vocal clarity. But room noise matters way more here than in a treated studio.
If your space has HVAC hum or traffic outside, a dynamic mic might actually serve you better.
For multi-host setups, go XLR with a multi-input interface. USB mics create driver conflicts and sync issues when you try to run more than one.
Check our guide to digital microphones for multi-mic solutions.
Streamers need clarity without picking up keyboard clatter, mouse clicks, and desk chaos. Go cardioid, keep the mic 6 to 8 inches from your mouth, and run a noise gate in OBS or your streaming software.
A basic desktop arm keeps the mic positioned correctly without cluttering your screen.
USB condensers dominate streaming because setup is dead simple and audio quality is more than enough for Twitch, YouTube, and Discord. If your desk gets loud, a hypercardioid condenser offers tighter pickup and better off-axis rejection.
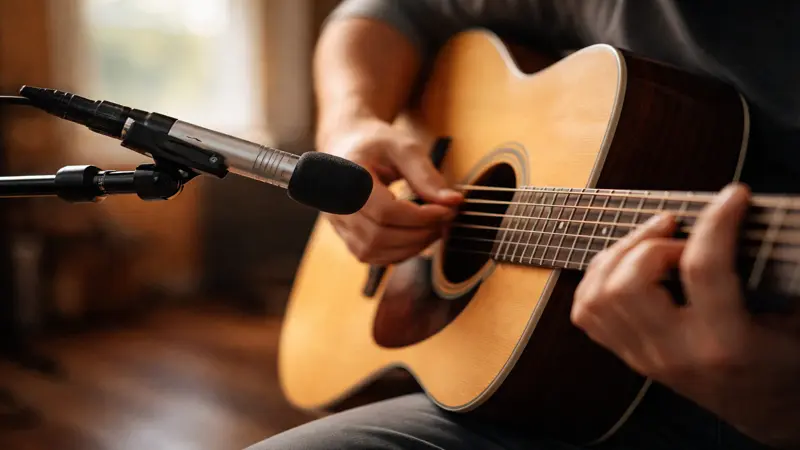
Instrument recording is honestly where condensers shine the brightest. The detail and accuracy they capture make them essential for acoustic guitars, pianos, strings, brass, and woodwinds.
Small-diaphragm condensers are typically preferred for instruments thanks to their consistent polar pattern and snappy transient response.
For drum overheads, a matched SDC pair in XY or ORTF configuration captures the full kit with stunning stereo imaging. For acoustic guitar, point an SDC at the 12th fret for a balanced blend of body and string brightness.
ASMR demands mics that capture the absolute quietest sounds with crystal clarity. Self-noise is the single most important spec, so aim for under 10 dBA and definitely under 14 dBA.
A lot of ASMR creators use matched pairs of LDCs in a binaural setup for immersive 3D audio. Our guide to ASMR ear microphones covers specialized options built for this kind of content.
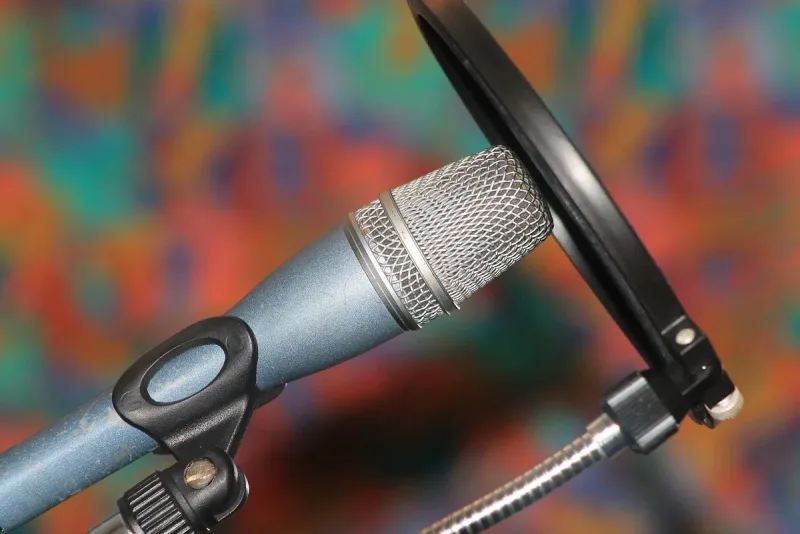
A quality pop filter and vibration-isolated mount matter just as much as the mic itself.
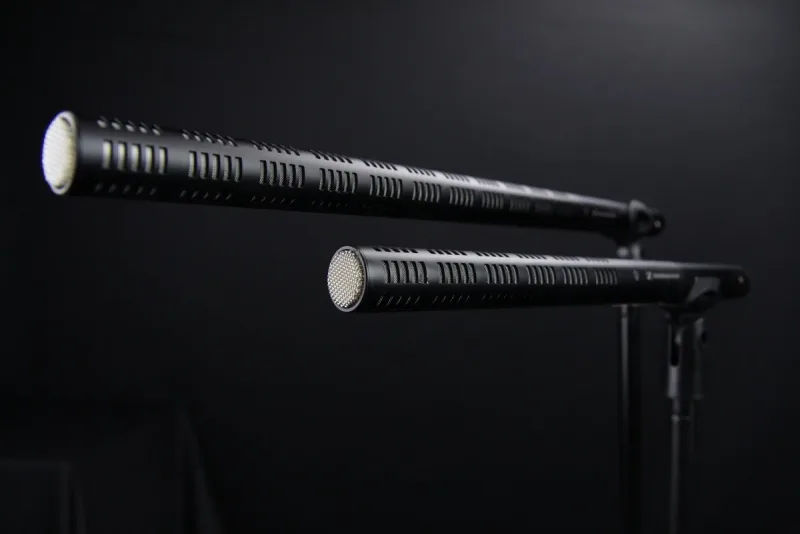
On-set dialogue typically calls for shotgun condensers or lavalier mics. Shotgun condensers use an interference tube to achieve extreme directionality, rejecting sound from the sides while capturing sources directly in front.
In controlled environments like ADR studios and interview setups, large-diaphragm condensers remain the standard.
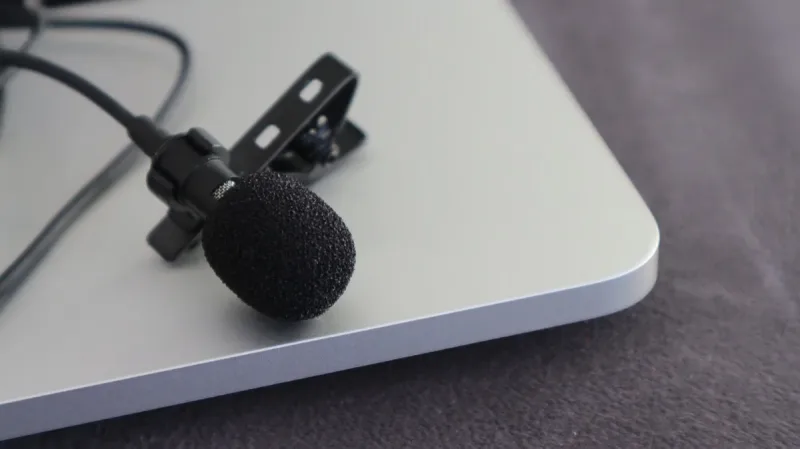
For run-and-gun filming with camera-mounted audio, even a basic external shotgun condenser transforms video quality. Clip-on lavalier condensers are essential for interviews, worship services, and presentations where visible mic stands would be distracting.
Here's what matters most: frequency response shape, self-noise level, polar pattern, phantom power requirements, and maximum SPL handling.
Most condensers cover 20 Hz to 20 kHz, spanning the full range of human hearing. But the shape of the response curve matters more than the raw range.
A flat response captures all frequencies at roughly equal volume, which is ideal for instruments and transparent recording. Many vocal condensers have a deliberate "presence peak" between 3 to 8 kHz that adds clarity and air.
Flat wins for accuracy; a shaped response saves EQ work on vocals.
Every condenser generates some electronic noise on its own, even in a dead-silent room. This self-noise is measured in dBA, and lower is always better.
For general recording and podcasting, under 18 dBA works well. For quiet vocal work, aim under 14 dBA; for ASMR, under 10 dBA.
Self-noise is one of the biggest quality gaps between budget and premium condensers, and one of the few specs that genuinely tracks with price.
The polar pattern determines which directions a mic picks up sound from. Here are the main options you'll encounter:
Not sure which pattern you need? Start with cardioid, since it handles 80% of recording situations and causes the fewest problems with room reflections and background noise.
XLR condenser mics need 48V phantom power, a DC charge sent through the XLR cable from your audio interface or mixer. Without it, the mic produces no signal.
Virtually every audio interface made in the last 15 years includes phantom power, usually labeled "+48V" or "P48." USB condensers skip this entirely since they pull power from the USB connection.
Sensitivity measures how much electrical output a mic produces for a given sound pressure level. Higher sensitivity means less preamp gain needed, which translates to a cleaner signal with less added noise.
Condensers are generally more sensitive than dynamics, which is one reason they sound "clearer" at lower volumes.
Max SPL tells you the loudest sound the mic handles before distorting. For vocals and speech, this rarely matters.
For loud drums, guitar amps, or brass, make sure max SPL hits at least 130 dB. Many condensers include a -10 dB or -20 dB pad switch for loud sources.
Your signal chain is only as strong as its weakest link. A $400 condenser plugged into a $30 interface will sound worse than a $150 condenser through a $100 interface.
Here's where each dollar makes the biggest difference:
At under $50, USB condensers deliver usable audio for video calls and casual streaming. Between $50 and $150, mics like the Audio-Technica AT2020 and Rode NT-USB Mini compete with gear costing twice as much.
From $150 to $400, models like the Rode NT1 and AKG C214 deliver professional results in a treated room. Past $400, diminishing returns hit hard.
The jump from a $100 mic to a $300 mic is enormous, from $300 to $700 it's noticeable, and from $700 up you need golden ears and a perfect room to tell. For most people, a quality condenser under $500 is more than enough.
The number one mistake is using a condenser in a noisy, untreated room where its high sensitivity picks up every unwanted sound.
Using a condenser in an untreated room. Condensers pick up everything: traffic, HVAC, computer fans, dogs barking two rooms away.
That sensitivity works against you in noisy spaces. Even basic treatment like moving blankets behind your mic position makes a real difference.
Ignoring self-noise specs. People check frequency response and price, then skip over self-noise entirely.
A budget condenser with 22 dBA of self-noise adds audible hiss that no amount of post-processing fully removes without degrading the signal.
Skipping essential accessories. A condenser without a shock mount picks up every vibration and rumble traveling through the stand.
A pop filter catches the plosive air blasts from P's and B's that create ugly low-frequency thumps. Products like the Kaotica Eyeball help tame reflections in untreated rooms.
Choosing the wrong connection type. People buy USB condensers, then hit a wall when they want to add a second mic for interviews.
Or they buy full XLR setups when all they needed was a USB mic for solo podcasting. Think about where you're headed, not just where you are today.
XLR condenser mics need 48V phantom power from your audio interface or mixer. USB condensers skip this entirely since they pull power from the USB connection.
Yes, especially USB models that offer plug-and-play simplicity with studio-quality sound. They're the fastest path to professional audio without needing to learn about interfaces, preamps, or signal routing.
You can, but dynamic mics are usually the better choice on stage since condensers pick up ambient noise and are more prone to feedback at high volumes. Some performers use condensers for quiet, controlled acoustic sets where detail matters more than volume handling.
Large-diaphragm condensers (1 inch+ capsule) sound warm and flattering, which is ideal for vocals. Small-diaphragm condensers (under 0.5 inch) are more accurate and consistent, making them better for instruments, drum overheads, and stereo recording.
With proper care, a quality condenser lasts decades. Store it in its case, avoid moisture and extreme temperatures, and never blow into the capsule.
Tube models may need tube replacements every few years, but the capsule itself can last a lifetime.
The most common cause is too much preamp gain. Turn it down and move closer to the mic, since proper gain staging fixes the problem 90% of the time.
Condensers also faithfully capture every sound in the room, so what seems like "mic noise" is often just ambient sound you didn't notice before. If buzzing or crackling persists, the capsule may need professional cleaning.
Condensers are still the gold standard for detailed, nuanced audio in controlled spaces. The technology has never been more accessible, and professional results are available at basically every budget now.
Pick the right condenser for your use case, your room, and your signal chain. Technique, mic placement, and room treatment will always matter more than the price tag on the microphone itself.
 roundup
 Add audio to your security cameras with a CCTV microphone. We tested 5 options and ranked them by sound clarity, weather resistance, and ease of install.
 roundup
 We tested 10 outdoor microphones built to handle wind, rain, and ambient noise. Find a weather-resistant mic for events and security setups.
 roundup
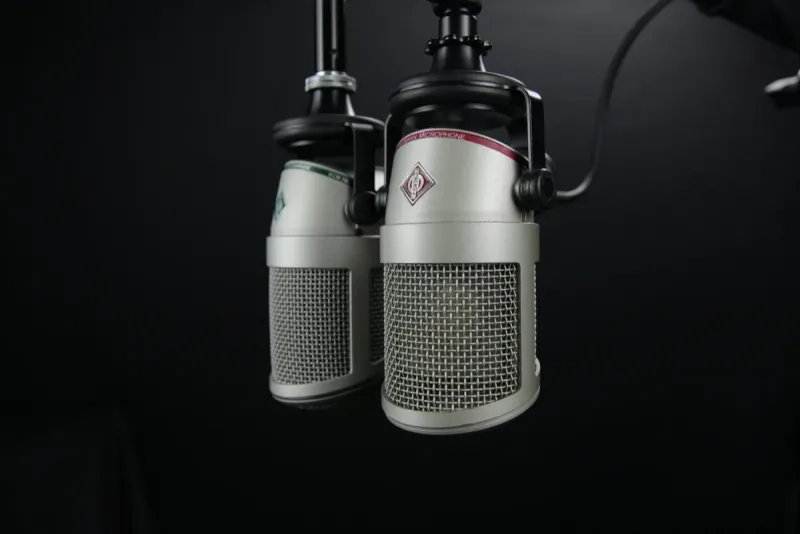
 We tested 10 radio microphones built for broadcast-quality sound. Find the best studio mic for podcasting, radio shows, and voice recording.
 roundup
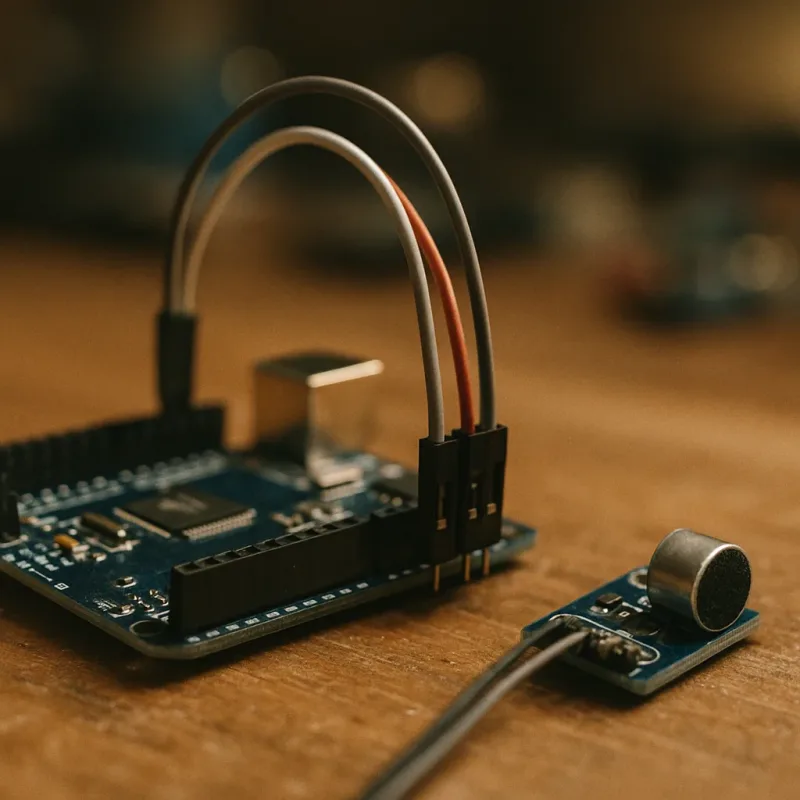
 Building a sound-reactive project? We tested 15 Arduino microphone modules, from electret amplifiers to breakout boards, for DIY electronics.
 roundup
 Studio-quality sound on a shoestring budget? We found 10 cheap recording microphones that actually deliver for podcasting, vocals, gaming, and streaming.
 roundup
 Carbon fiber mic booms are lightweight and incredibly durable. We tested 10 carbon microphone booms for field recording and film to find the best options.
 roundup
 Find the best portable microphone and speaker sets for presentations. We reviewed voice amplifiers and compact PA systems for public speakers.
 roundup
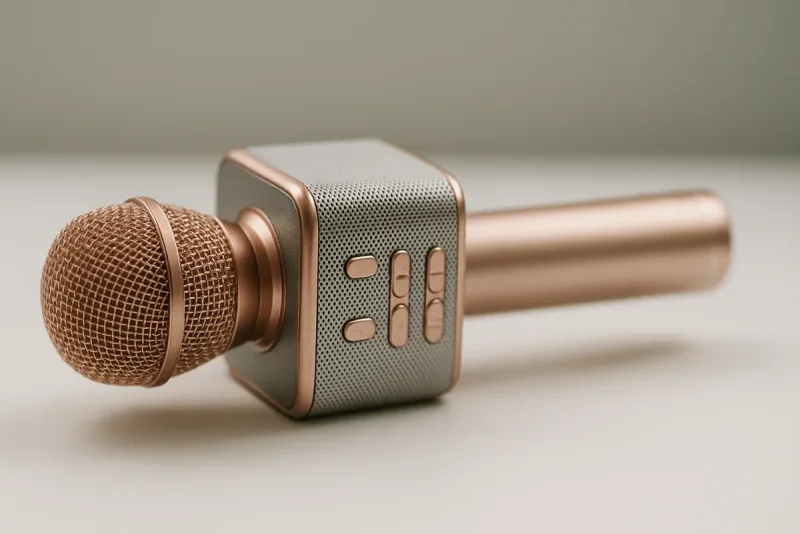
 Skip the separate gear and grab a microphone speaker combo. We ranked 10 mic-and-speaker options for karaoke nights, events, and conference calls.
 roundup
 We reviewed the 10 best ASMR microphones from Audio-Technica, Blue, and Rode. Find out which condenser mics capture whisper-level triggers with zero noise.
 roundup
 Need to capture audio from far away? We tested 9 long-distance microphones including parabolic dishes, shotgun mics, and hypercardioids that work at range.
 roundup
 Keep your desk clear with a hanging microphone. We reviewed 10 overhead condenser mics that mount on boom arms and capture clean, hands-free audio.
 roundup
 We reviewed 12 surveillance microphones for CCTV and IP camera setups. Find the best audio pickup mic for your home or business security system.